Many thanks for installing O&O DiskRecovery!
We would like to show you in a few short steps how you can quickly get started using O&O DIskRecovery.
What is O&O DiskRecovery?
O&O DiskRecovery searches for and reconstructs data that was deleted or lost through software error. It scans the entire hard disk, partition or USB Stick for lost files. Usage is very intuitive, with a step-by-step wizard enabling users with little or no experience to easily recovery data they feared was lost. The free trial version lets users see before they buy just what lost data is in fact recoverable!
First steps with O&O DiskRecovery
After the first start of O&O DiskRecovery you can get your license by clicking on “I would like to enter my license number or purchase a license”.
O&O DiskRecovery combines three powerful search functions. For quick searches, you can use the search algorithm of O&O UnErase, which completes a scan for files, even on very large hard drives, in no time. The advanced features of the special search algorithms in O&O FormatRecovery make it possible to find and then ignore defective sectors. This in turn facilitates data recovery on a drive that is damaged yet still accessible. For the sector-based deep scan, we recommend the use of the search algorithms in O&O DiskRecovery.
Start a search
Click on Next to start the search for deleted files. During the scan you will receive information regarding the O&O DiskRecovery scan by way of astatus dialog box. In it you will find the overall progress of the scan, the progress pertaining to aspecific file, and the number of files found to this point.The elapsed time, as well the estimated time remaining, can also be found here.
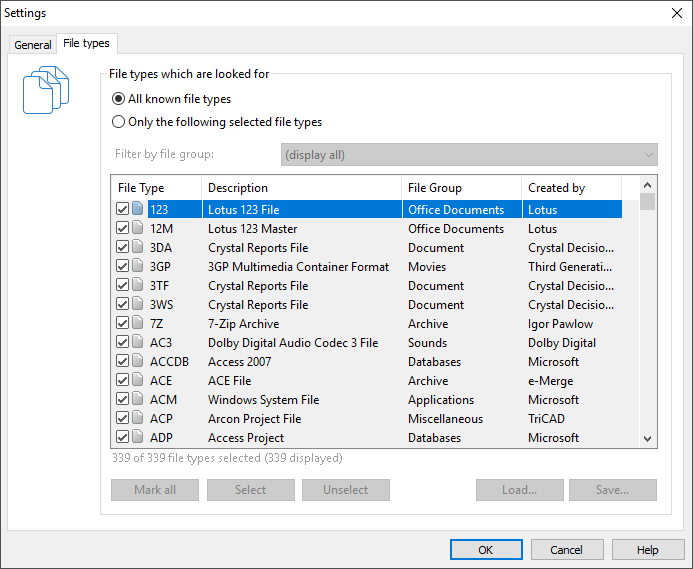
Filter for file types
It is possible to determine which types of files O&O DiskRecovery will scan for. By default all datatypes are considered. After the scan has been completed you will be able to select which files are tobe restored. Because of this you may want to just leave the file type settings as they are. Clicking Next will initiate the data scan.
Select files to be restored
After the scan has been completed, the files found will be displayed. When your selections are made, click on Next to continue to the next step. Many picture and text files can be immediately previewed without having been previously recovered.
Select target folder
To recover selected files you need to enter a saving location. By default your ‘My Documents’ folder is set, but any folder, including network folders, may be selected for this. O&O DiskRecovery automatically creates a subfolder into which the recovered files are saved.
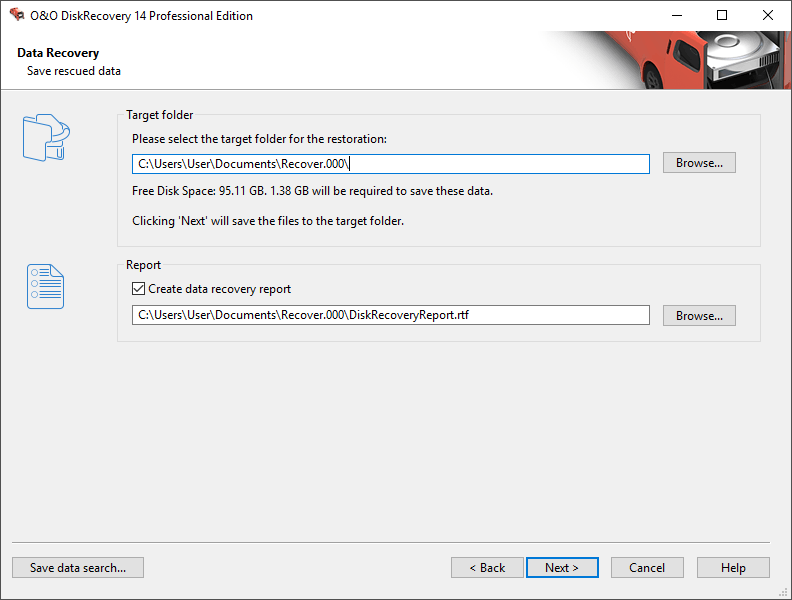
Creating a Report
Activating this option will enable you to view a detailed report regarding the completed datarecovery session. You can have this report saved to a different target folder as that in which therecovered files are to be saved. As a standard it will be created with the name”DiskRecoveryReport.rtf” in the target folder.
We hope you enjopy using O&O DiskRecovery! Further tips and tricks can be found on our web page at