Many thanks for installing O&O Defrag 23!
We would like to show you in a few short steps how you can quickly get started using O&O Defrag.

What is O&O Defrag?
Whenever it saves data, Windows scatters file fragments all over the hard disk and this slows down access times considerably. Defragmentation reverses this by rearranging data and speeding up access times dramatically. This not only saves the user time, it also reduces wear on hard disks and extends their life expectancy. Defragmentation can even make the difference if you lose important data because chances of full recovery are better on a defragmented disk.
First steps with O&O Defrag
After the first start of O&O SafeErase you can get your license by clicking on “I would like to enter my license number or purchase a license”.
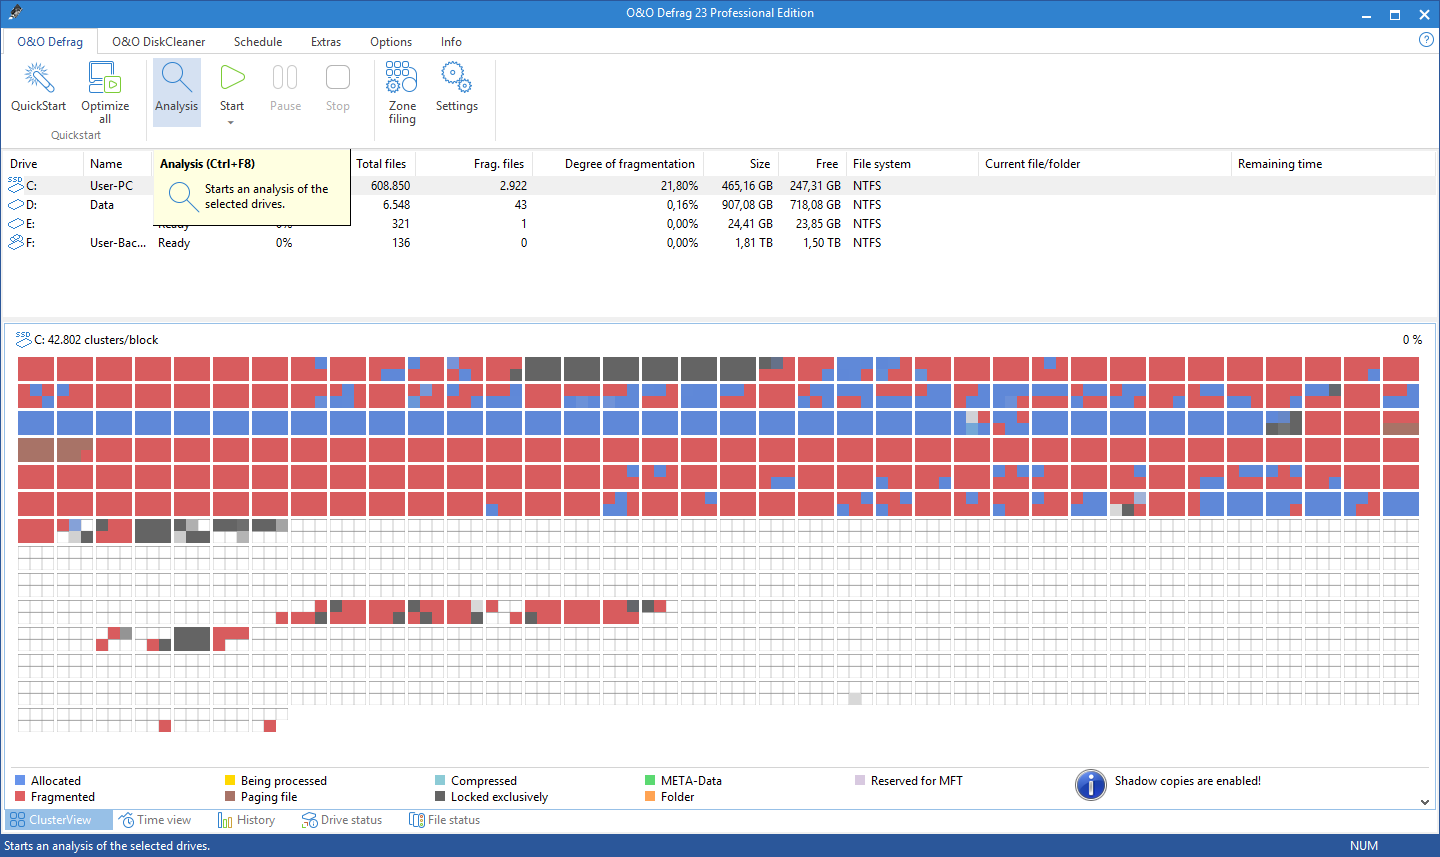
Analyse your drives
By analyzing hard disks, you can get an overview of how files are arranged on a drive, and how heavily fragmented they are. O&O Defrag creates a detailed status report about the fragmentation level once the analysis has been completed:
- Select the drive you want to have analyzed from the list of drives.
- Start the Analysis using the Ribbon bar or the right-click menu.
- Depending on the size of the drive, the analysis can take some time. You can see the analysis being done on the drive icon and in the status display.
- When the analysis is complete, you can view the detailed status report as a HTML document in your web browser.
You can analyze several drives simultaneously. Mark the various drives by keeping the Ctrl key pressed while selecting.
Defragmenting your drives
O&O Defrag allows you to defragment individual drives or entire computers with just a few mouse clicks. The first defragmentation usually requires the most time because O&O Defrag has to check your entire system and move all files into their optimal position. We therefore recommend an initial defragmentation with the STEALTH or SPACE methods. Defragment single drives:
- Select the drive you wish to defragment from the drive list.
- Clicking the Start button in the Ribbon Bar will start defragmentation using the OPTIMIZE default method. If you want to change this method, open the Start button’s lower menu and select the method you desire.
- Depending on the size of your database, defragmentation can take up to several hours. You can see the defragmentation in progress on the drive symbol and the status display.

Once defragmentation is completed, you can have a detailed status report displayed as an HTML document in your web browser!
We hope you enjoy using O&O Defrag!
You can find further tips and tricks on our web page at